
 Bookmark
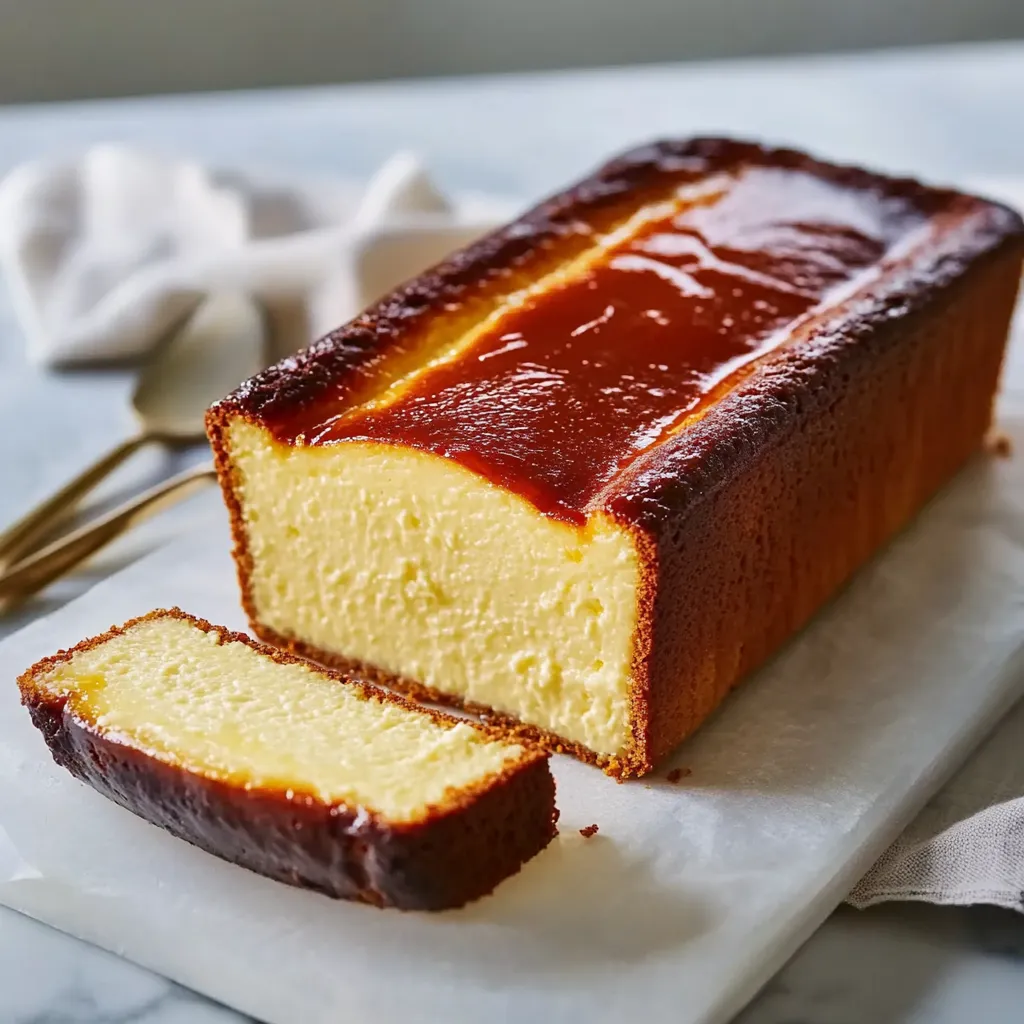
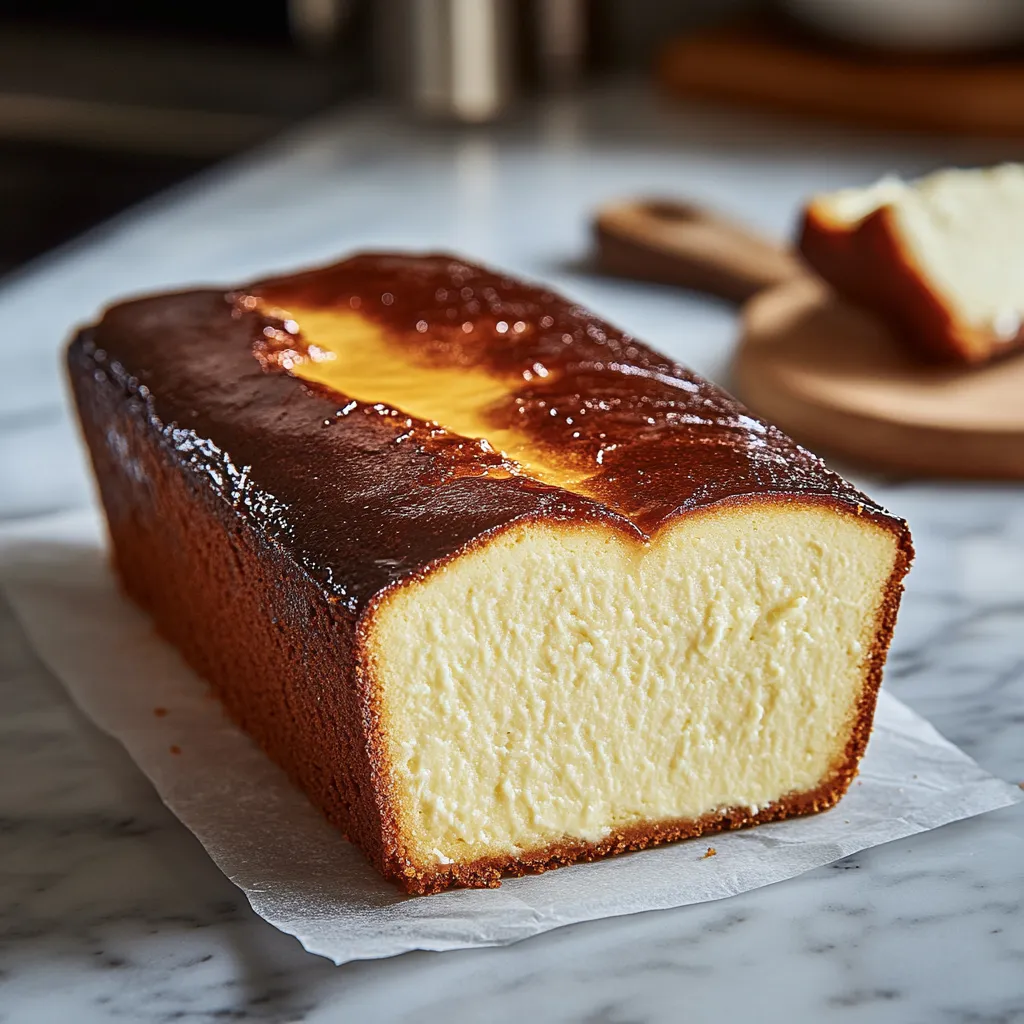
This Burnt Basque Cheesecake in a loaf pan transforms the traditional round version into a sliceable treat that retains all the caramelized goodness of the original. The contrast between the deeply burnished exterior and creamy interior creates an irresistible dessert that looks impressive with minimal effort.
I discovered Burnt Basque Cheesecake during a trip to San Sebastián and became obsessed with recreating it at home. The loaf pan version has become my signature dessert for dinner parties because it slices beautifully and can be prepared a day ahead.
Ingredients
- Cream cheese full fat only for proper texture and richness
- Granulated sugar provides sweetness and helps create the caramelized exterior
- Large eggs room temperature eggs incorporate more smoothly
- Heavy cream adds luxurious silkiness and contributes to the custardy center
- Vanilla extract enhances the flavor profile with subtle warmth
- Salt balances the sweetness and intensifies the flavor
- All purpose flour just a tablespoon helps stabilize the structure
Step-by-Step Instructions
- Preparation
- Line your loaf pan with parchment paper leaving overhang on all sides. Make sure to crease the corners well so the batter doesn't leak. Preheat your oven to a hot 400°F which is essential for achieving that signature burnt top.
- Beat Cream Cheese And Sugar
- Use room temperature cream cheese and beat with sugar for a full 3 minutes until extremely smooth. Any lumps now will remain in the final cheesecake so be thorough. Scrape down the sides of the bowl several times during mixing.
- Add Eggs
- Add eggs one at a time allowing each to fully incorporate before adding the next. This creates an emulsion that traps air giving your cheesecake its light texture. Beat for about 30 seconds after each egg.
- Incorporate Wet Ingredients
- Pour in the heavy cream vanilla and salt then mix until the batter looks silky and unified. The mixture will be quite liquid at this stage which is exactly what you want for that creamy interior.
- Add Flour
- Sift the flour directly over the bowl to prevent lumps then fold gently with a spatula just until combined. Overmixing at this stage can develop gluten and make your cheesecake less tender.
- Bake To Perfection
- Pour the batter into your prepared pan and bake until deeply golden brown on top but still jiggly in the center. The contrast between the caramelized exterior and custardy interior is the hallmark of this dessert.
 Bookmark
My favorite part of this recipe is watching guests' reactions when they first taste it. The burnt top often makes people hesitant until they take that first bite and their eyes widen with delight. My husband who claimed to dislike cheesecake now requests this for his birthday every year.
The Perfect Burnt Top
Achieving the signature burnt exterior requires high heat throughout the baking process. Never open the oven door during the first 30 minutes of baking as the temperature drop can prevent proper caramelization. The top should look almost alarmingly dark but not black. This caramelization creates complex flavors similar to crème brûlée but without the need for a torch.
Texture Troubleshooting
The center should remain slightly jiggly when you remove it from the oven. If you bake until completely set the final texture will be too firm. Remember that the cheesecake continues cooking from residual heat and will set further while cooling. For the creamiest texture make sure all ingredients are at room temperature before mixing and avoid overmixing once the flour is added.
Serving Suggestions
The traditional way to serve Basque cheesecake is plain at room temperature which allows the full flavor to shine. However I find it pairs beautifully with macerated berries or a drizzle of warm dark chocolate. For an extra indulgent dessert try serving with a small glass of Pedro Ximénez sherry which complements the caramel notes perfectly.
Make Ahead and Storage
This cheesecake actually improves with an overnight rest in the refrigerator allowing the flavors to meld and the texture to set perfectly. It can be stored refrigerated for up to 5 days tightly wrapped. You can also freeze individual slices for up to 2 months wrapped in plastic and foil. Thaw overnight in the refrigerator and bring to room temperature before serving for the best texture.
Recipe FAQs
- → Why is my Basque cheesecake still jiggly after baking?
The slight jiggle in the center is intentional and desired—it's the hallmark of authentic Basque cheesecake. The dessert will continue to set as it cools, resulting in the characteristic creamy interior texture that contrasts with the caramelized exterior. If you bake until completely firm, you'll lose the silky texture that makes this dessert special.
- → Can I substitute low-fat cream cheese?
Full-fat cream cheese is strongly recommended for the proper texture and flavor. Low-fat versions contain more moisture and stabilizers that can prevent the cheesecake from setting correctly and affect the creamy consistency that's signature to Basque cheesecake.
- → How do I know when my Basque cheesecake is done baking?
The cheesecake is done when the top is deeply golden brown (almost burnt-looking) while the center still has a slight jiggle when gently shaken. The edges should be set and pulling away slightly from the parchment paper. A toothpick inserted about 1 inch from the edge should come out mostly clean.
- → Why use a loaf pan instead of a round pan?
Using a loaf pan creates beautiful, even slices perfect for serving and presentation. It also allows for easier storage in the refrigerator and creates a different aesthetic compared to the traditional round shape. The rectangular format provides more caramelized edge area per slice.
- → Can I freeze Basque cheesecake?
Yes, this cheesecake freezes well. Cool completely and refrigerate first, then wrap individual slices or the whole loaf tightly in plastic wrap followed by aluminum foil. Freeze for up to 3 months. Thaw overnight in the refrigerator before serving for best texture.
- → Why does the parchment paper need to overhang the pan?
The parchment paper overhang serves as handles to easily lift the cheesecake from the pan after cooling. Without this, removing the delicate cheesecake intact would be difficult. The paper also prevents the caramelized exterior from sticking to the pan during baking.