
 Bookmark
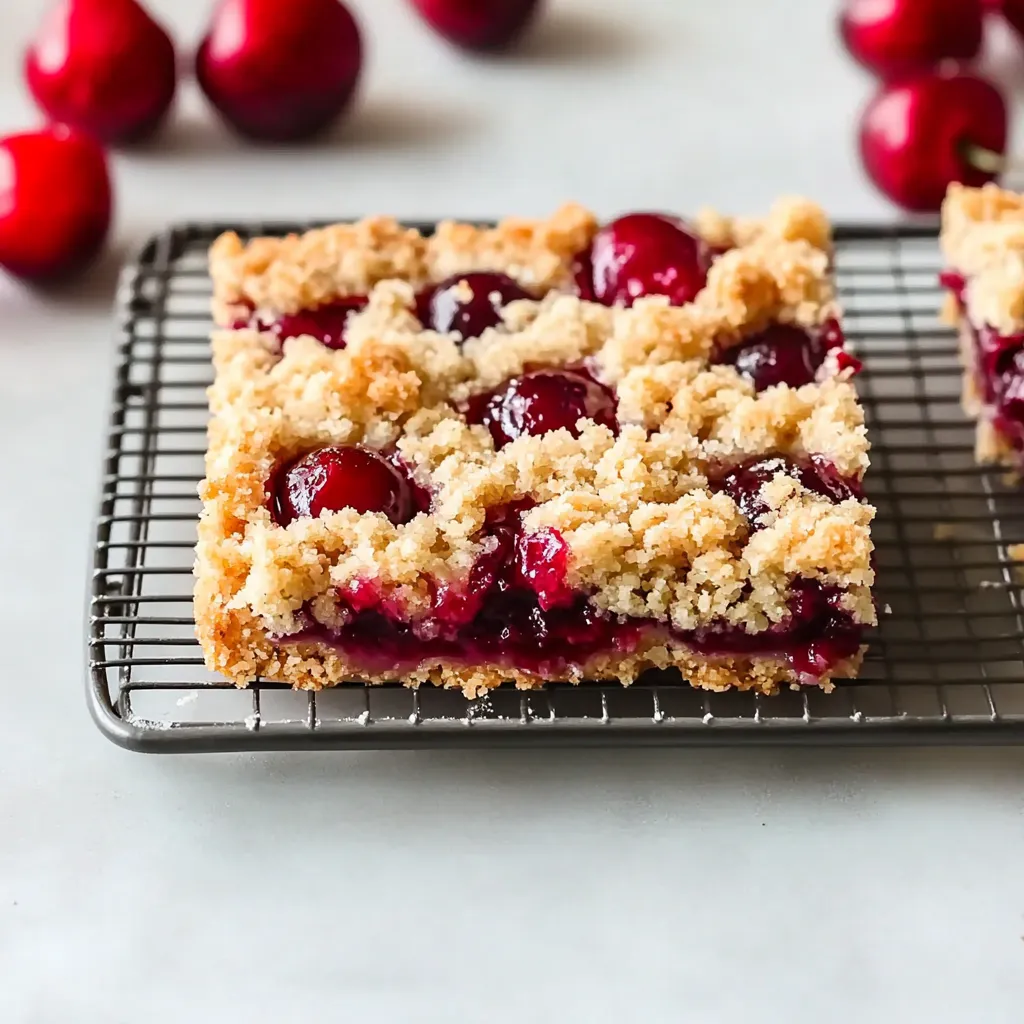
This quick cherry crumble bar recipe transforms simple ingredients into a delightful treat that balances sweet fruit filling with buttery crumb layers. Perfect for using summer cherries or even frozen ones during off-season, these bars have become my go-to dessert for potlucks and family gatherings.
I first made these bars when my neighbor shared a surplus of cherries from her backyard tree. The combination of the tart cherries with the sweet, buttery crumble was so irresistible that my family devoured the entire batch before they had fully cooled.
Ingredients
- Flour provides structure to both the base and crumble topping creating the perfect tender yet sturdy texture
- Granulated sugar balances the tartness of the cherries without being overly sweet
- Chilled butter must be very cold for the best crumbly texture look for unsalted for better flavor control
- Fresh cherries offer the best flavor but frozen work beautifully when pitted cherries arent in season
- Cornflour crucial for thickening the cherry filling preventing soggy bars
- Egg acts as a binder for the crumble mixture giving it the perfect texture
- Baking powder provides just enough lift to keep the base from becoming too dense
Step-by-Step Instructions
- Prepare the Baking Dish
- Preheating your oven to 375°F ensures consistent baking. The parchment paper overhang acts as handles making it easy to remove the entire dessert for clean cutting. Dont skip this step as it prevents sticking and makes cleanup much simpler.
- Mix the Dough
- Grating the cold butter rather than cutting it in creates the perfect texture for the crumble. Work quickly with your fingertips rather than your whole hand to keep the butter from warming too much. The mixture should resemble coarse sand with small butter pieces still visible this creates those lovely flaky pockets in the final bars.
- Form the Crust
- Press the dough firmly but gently into an even layer. Use the bottom of a measuring cup for a smooth flat surface. Make sure the crust reaches all corners for structural integrity of your bars.
- Prepare the Cherry Filling
- Mashing the cherries releases their juices and creates a more cohesive filling. Straining excess liquid is crucial to prevent soggy bars. The cornflour must be thoroughly mixed with the sugar before adding to cherries to prevent clumping.
- Assemble and Bake
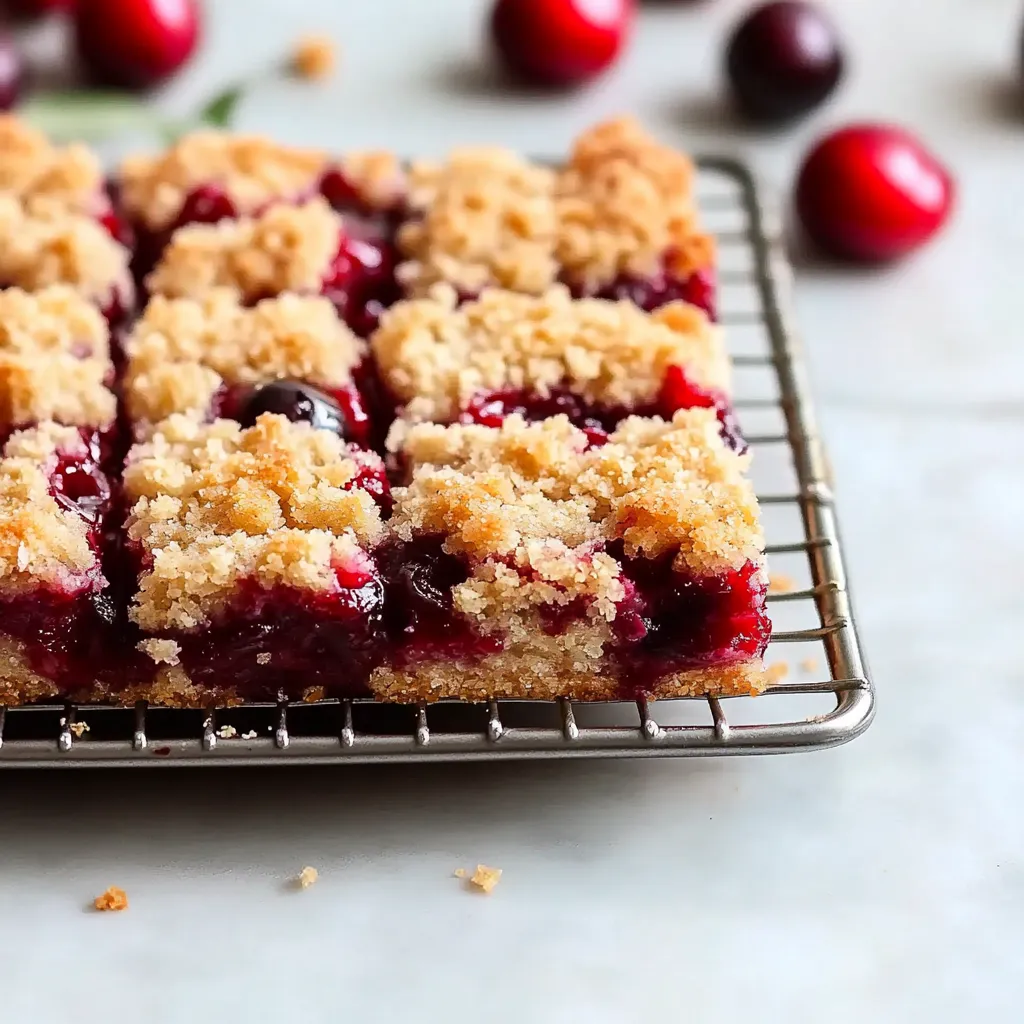
- Distribute the cherry layer evenly avoiding bare spots. When adding the crumble topping pinch small amounts between your fingers to create textured chunks of various sizes for the best appearance and texture. Look for golden edges as your visual cue for doneness.
- Cool and Serve
- Complete cooling is essential for clean cutting. Refrigeration speeds this up but also enhances the flavor as the filling sets properly. The bars actually taste better the day after baking as the flavors have time to meld.
 Bookmark
My favorite part of this recipe is the versatility of the crumble mixture. I discovered that reserving some for the topping creates the perfect textural contrast between the sturdy base and the crumbly topping. My grandmother used to make a similar recipe with her homegrown cherries, but adding the cornflour was my innovation that prevents the dreaded soggy bottom.
Make Ahead and Storage
These cherry bars maintain their texture and flavor remarkably well. Store them in an airtight container with parchment paper between layers to prevent sticking. They stay fresh at room temperature for 3 days or refrigerated for up to a week. For longer storage, wrap individual portions in plastic wrap and freeze for up to 3 months. Let thaw at room temperature for about an hour before serving.
Fruit Variations
While cherries create a stunning flavor profile, this versatile recipe works beautifully with other fruits. Blueberries require slightly less cornflour as they naturally contain more pectin. Sliced strawberries mixed with rhubarb create a delightful spring variation but need additional sugar to balance rhubarb's tartness. Apple cinnamon becomes a fall favorite by adding 1 teaspoon of cinnamon to the crumble mixture and using thinly sliced apples tossed with lemon juice.
Serving Suggestions
These bars shine on their own but transform into an elegant dessert when slightly warmed and topped with a scoop of vanilla ice cream. For brunch gatherings, serve alongside strong coffee with a dollop of whipped cream. During cherry season, garnish with fresh cherries and a light dusting of powdered sugar for a beautiful presentation. The sturdy texture makes them ideal for picnics and lunchboxes too.
Recipe FAQs
- → Can I use frozen cherries instead of fresh?
Yes, frozen cherries work well as a substitute. Thaw them completely first and drain any excess liquid before mashing. You might need to add an extra tablespoon of cornstarch if the cherries release too much moisture.
- → How long do these cherry bars stay fresh?
When stored in an airtight container, these bars will keep for 3-4 days at room temperature or up to a week in the refrigerator. You can also freeze them for up to 3 months by wrapping individually and storing in a freezer-safe container.
- → Can I use other fruits instead of cherries?
Absolutely! This versatile base works wonderfully with blueberries, raspberries, strawberries, or a mix of berries. You could also try peaches or apples (which might need a quick cooking to soften before adding).
- → Why is my crust too crumbly?
If your crust isn't holding together well, it might need more moisture. Add an additional teaspoon of milk at a time until the dough holds together when pinched. Also, ensure you're pressing it firmly into the pan.
- → Do I need to use cornflour/cornstarch in the filling?
The cornstarch is important as it thickens the cherry filling and prevents it from becoming too runny. Without it, your bars might have a soggy bottom. If you don't have cornstarch, you could substitute with arrowroot powder or additional flour.
- → Can I make these bars gluten-free?
Yes, you can substitute the plain flour with a 1:1 gluten-free flour blend. Make sure it contains xanthan gum, or add 1/4 teaspoon to your mixture to help with binding.