
 Bookmark
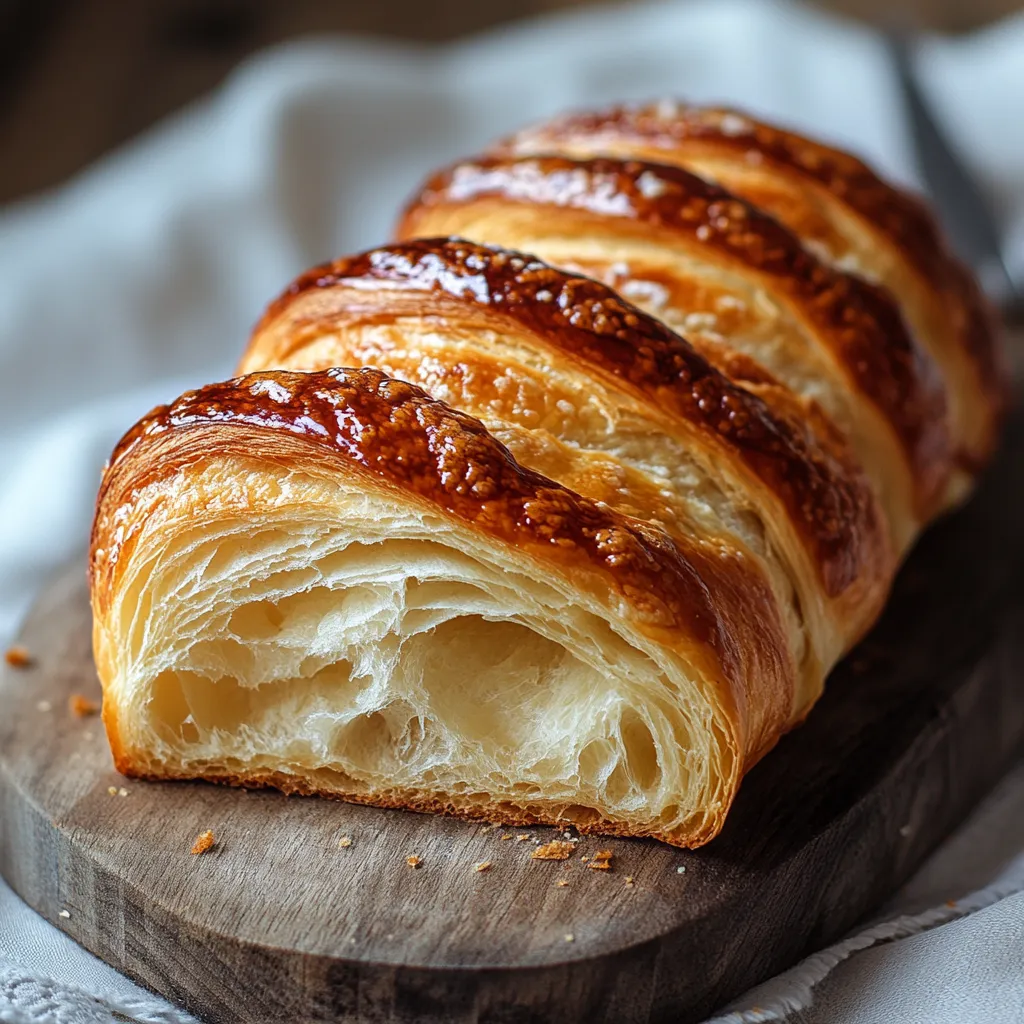
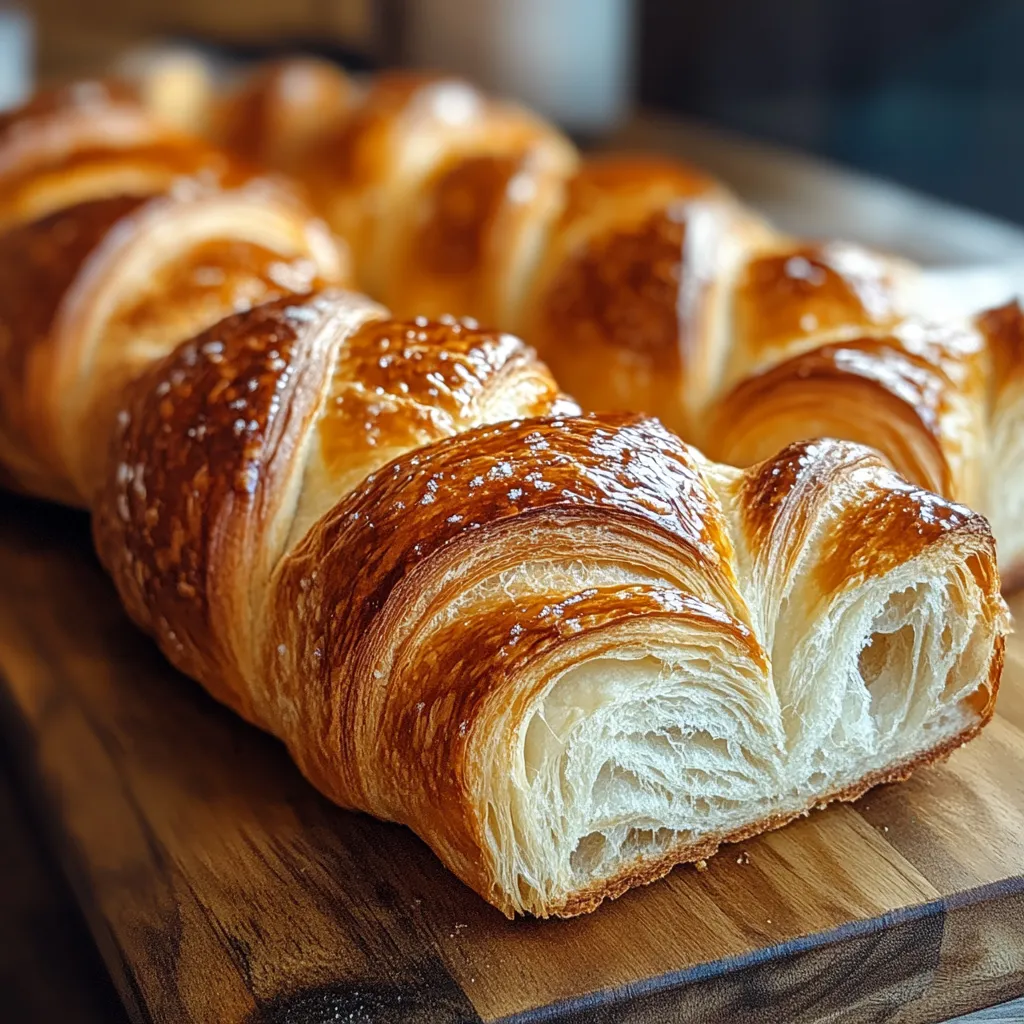
This buttery croissant bread brings the magic of French bakery indulgence into a convenient loaf form. The flaky, tender layers and rich flavor make this recipe perfect for special breakfasts or impressive sandwiches that will have everyone thinking you're a professional baker.
I first attempted this recipe during the height of pandemic baking and have refined it over a dozen attempts. What started as a challenging project has become my signature bring along for brunches, always prompting recipe requests and impressed looks when I reveal it's homemade.
Ingredients
- All purpose flour provides the perfect structure while remaining tender enough for those delicate layers
- Granulated sugar adds just enough sweetness to balance the flavors and helps feed the yeast for proper rising
- Active dry yeast brings the necessary lift to create a light and airy texture despite the rich butter content
- Unsalted butter is the star ingredient with its rich flavor and ability to create those signature flaky layers when properly laminated
- Salt enhances all the flavors and strengthens the gluten structure for better texture
- Eggs provide richness to the dough and create that beautiful golden shine when used as a wash
- Milk adds tenderness to the crumb and helps create that distinct croissant flavor profile
Step-by-Step Instructions
- Activate The Yeast
- Combine warm milk, water, and sugar in a large bowl, ensuring the liquid temperature is around 110°F. Sprinkle yeast over the mixture and let it sit undisturbed for 5 to 10 minutes until foamy and fragrant. This activation step is crucial for proper rising and ensures your yeast is still alive and viable.
- Create The Dough Base
- Add flour, salt, softened butter and egg to your activated yeast mixture. Mix thoroughly until all ingredients are fully incorporated and a cohesive mass forms. The dough should be slightly tacky but not overly sticky. This initial mixing builds the foundation for your bread structure.
- Develop The Gluten
- Knead the dough either by hand on a lightly floured surface for 8 to 10 minutes or with a stand mixer fitted with a dough hook for 6 to 8 minutes. The dough should become smooth, elastic, and pass the windowpane test. Properly developed gluten is essential for trapping the butter layers and creating that signature texture.
- First Rise
- Shape the kneaded dough into a tight ball and place in a lightly greased bowl. Cover with plastic wrap or a damp kitchen towel and let rise in a warm draft free spot for about an hour until doubled in size. This initial fermentation develops flavor and prepares the dough for lamination.
- Prepare The Butter Block
- While the dough rises, create your butter block by placing cold butter pieces between parchment paper. Use a rolling pin to pound and shape the butter into a precise 7×7 inch square, keeping edges straight and thickness even. The butter should be cold but malleable. Refrigerate this block until needed.
- Encase The Butter
- Roll the risen dough on a lightly floured surface into a 10×10 inch square. Position the chilled butter block in the center at a 45 degree angle like a diamond. Fold the four corners of dough over the butter, ensuring complete enclosure with seams properly sealed. This step is critical for successful lamination.
- First Lamination Turn
- Roll the butter enclosed dough into a long rectangle approximately 8×20 inches, maintaining even thickness throughout. Fold the dough in thirds like a business letter, bringing one third over the center, then folding the opposite third on top. Wrap in plastic and refrigerate for 30 minutes to allow the butter to firm up again.
- Complete Lamination Process
- Repeat the rolling, folding, and chilling process two more times, always keeping the open seam in the same orientation with each turn. These three complete turns create the signature layers that will puff and separate during baking. Proper chilling between turns prevents butter from melting into the dough.
- Shape The Loaf
- After the final chilling period, roll the laminated dough into a rectangle about 9×14 inches. Fold it into thirds once more, then gently roll to fit the dimensions of your loaf pan. The dough should fit snugly with the seam side down in a greased 9×5 inch loaf pan.
- Final Proofing
- Cover the shaped loaf loosely with plastic wrap and allow it to rise in a warm area for 1 to 1.5 hours until noticeably puffy and nearly doubled in size. This final rise allows the yeast to create gas pockets between the butter layers, setting up the structure for proper oven spring.
- Bake To Golden Perfection
- Preheat your oven to 375°F and brush the proofed loaf gently with egg wash for a glossy golden finish. Bake for 35 to 40 minutes until deeply golden and the internal temperature reaches 190°F. The hollow sound when tapped confirms it's fully baked through to the center.
- Cooling Period
- Allow the baked loaf to rest in the pan for 10 minutes before carefully transferring to a wire rack for complete cooling. Resist the temptation to cut into it while hot as this will compress the layers and release essential moisture. A full cooling period allows the structure to set properly.
 Bookmark
I consider the butter quality to be the make or break ingredient in this recipe. After experimenting with various brands, I discovered that European style butter with higher butterfat content creates noticeably better layers and flavor. My family now jokes that they can tell when I've "cheaped out" on the butter just by looking at the finished loaf.
Mastering Temperature Control
The secret to perfect lamination lies in temperature management. Your butter needs to be cold enough to remain solid yet pliable enough to roll without breaking. If your kitchen runs warm, I recommend working on a marble surface if possible and chilling your rolling pin beforehand. Short 10 minute breaks in the refrigerator during rolling can save a lamination attempt if you notice the butter starting to soften too much. Remember that visible butter streaks in your dough are perfectly fine, but butter leaking out during rolling means things have gotten too warm.
Make Ahead Options
This croissant bread is ideal for preparing in stages. After completing the lamination process, the dough can be tightly wrapped and refrigerated for up to 48 hours or frozen for up to one month. Thaw overnight in the refrigerator before shaping. Alternatively, bake the loaf completely, cool thoroughly, then wrap tightly and freeze for up to 3 months. Reheat frozen slices directly in the toaster or thaw the entire loaf at room temperature and warm in a 300°F oven for 10 minutes to restore the crisp exterior.
Flavor Variations
While the classic version is divine, this versatile dough welcomes creative additions. For a chocolate version, sprinkle 1/2 cup chocolate chips between the final folds before shaping. Cinnamon sugar filling creates a breakfast treat reminiscent of cinnamon rolls. For a savory twist, add 1 tablespoon of herbs de Provence to the dough and sprinkle grated gruyere cheese between the final layers. My personal favorite is adding orange zest to the dough and brushing the warm baked loaf with orange simple syrup for a citrus infused treat.
Troubleshooting Common Issues
If your loaf doesn't show distinct layers, the most likely culprit is butter that melted into the dough during lamination. Next time, ensure stricter temperature control and consider briefer but more frequent chilling periods. Dense spots in the finished loaf typically indicate underproofing during the final rise. Give the shaped loaf more time to expand before baking, especially in cooler kitchens where rising takes longer. If the exterior browns too quickly while the inside remains doughy, tent the loaf with foil after the first 20 minutes of baking to allow the center to catch up without excessive browning.
Recipe FAQs
- → Can I make the dough ahead of time?
Yes, you can prepare the dough through the final lamination, then wrap it tightly and refrigerate overnight. The next day, shape it, allow for the final rise, and bake as directed. The cold fermentation actually improves flavor development.
- → Why is my butter leaking out during baking?
This typically happens when the butter gets too warm during lamination. Ensure your butter block is cold but pliable, and work quickly during the folding process. If the dough becomes too soft at any point, return it to the refrigerator for 15-20 minutes before continuing.
- → Can I freeze this bread?
Absolutely! Once completely cooled, wrap the loaf tightly in plastic wrap followed by aluminum foil or place in a freezer bag. Freeze for up to 3 months. Thaw at room temperature and refresh in a 350°F oven for 5-10 minutes for best texture.
- → What's the best way to slice this bread?
Wait until the bread has completely cooled (at least 2 hours) before slicing. Use a sharp serrated knife with a gentle sawing motion to preserve the delicate layers and prevent crushing the loaf.
- → Can I add fillings to the bread?
Yes! Before the final shaping, you can sprinkle chocolate chips, cinnamon sugar, or almond paste between the layers. Just be careful not to add too much, as it may prevent proper lamination and rising.
- → How do I know when the bread is fully baked?
The bread should be deeply golden brown and have an internal temperature of 190°F (88°C). When tapped on the bottom, it should sound hollow. If the top browns too quickly, cover loosely with foil for the remaining bake time.