
 Bookmark
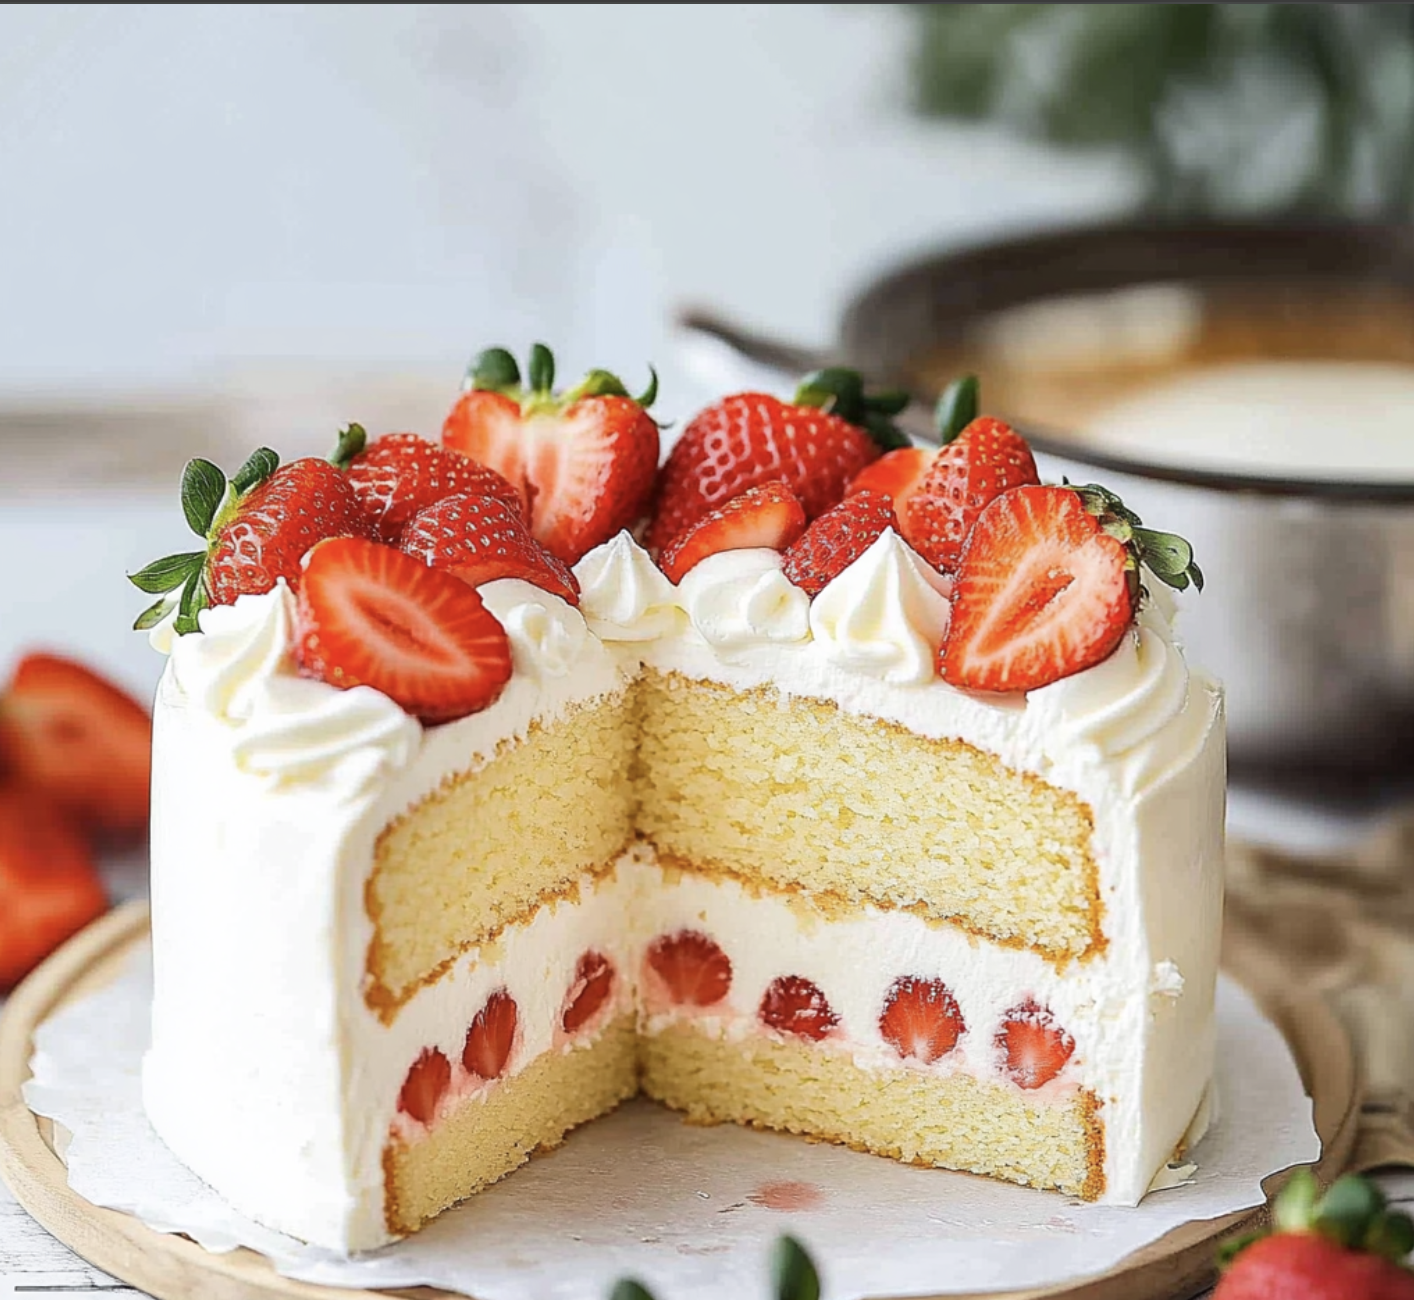
This Japanese Strawberry Cake transforms simple ingredients into a light, ethereal dessert that feels like eating a cloud studded with fresh strawberries. The delicate sponge layers embrace sweet cream and juicy berries for a treat that's as beautiful as it delicious.
I first made this cake for my daughter's birthday after she fell in love with Japanese patisserie during our family trip to Tokyo. The look on her face when she took her first bite made all the careful steps worthwhile.
Ingredients
- Whole milk creates moisture and tenderness in the sponge
- Unsalted butter adds richness without overwhelming the delicate flavors
- Cake flour with lower protein content ensures a light texture
- Egg yolks provide structure and richness to the cake base
- Egg whites whipped separately create the signature airy texture
- Sugar balanced perfectly to complement the natural sweetness of strawberries
- Fresh strawberries both inside and decorating the cake showcase seasonal fruit
- Heavy whipping cream with high fat content produces the silkiest frosting
- Confectioners sugar dissolves seamlessly into the whipped cream
- Optional gelatin stabilizes the cream for longer holding time
Step-by-Step Instructions
- Prepare the Cake Pan
- Line an 8" round cake pan with parchment paper cut to fit the bottom. This prevents sticking and ensures easy removal. Set up a water bath by selecting a larger pan that can hold your cake pan with room for water around it. The water bath creates gentle, even heating that prevents the delicate sponge from drying out.
- Create the Batter Base
- Melt butter and milk together until just combined. The warmth helps them integrate perfectly. Sift cake flour directly into this mixture for ultimate smoothness. Fold in egg yolks with gentle strokes to maintain the light texture we're building.
- Whip the Egg Whites
- Beat egg whites until frothy, then gradually add sugar while continuing to beat. Watch carefully for glossy medium peaks. This step incorporates air that gives the cake its characteristic lightness. The gradual sugar addition creates stability in the meringue.
- Combine Components
- Fold a quarter of the beaten whites into the yolk mixture first to lighten it. This clever technique prevents deflating the whites. Then fold the lightened yolk mixture back into the remaining whites with gentle, sweeping motions until just combined. Overmixing will deflate the batter and result in a dense cake.
- Bake with Care
- Pour the batter into the prepared pan and drop it twice from a small height to release large air bubbles. Place in the water bath and bake low and slow. The extended baking time at moderate temperature ensures even cooking without drying. Resist opening the oven early which can cause collapse.
- Prepare Strawberries
- Macerate sliced strawberries with sugar to draw out juices and intensify flavor. This simple step transforms ordinary berries into glistening jewels with concentrated sweetness. The reserved juice becomes part of the cake syrup for an extra flavor boost.
- Whip Perfect Cream
- Beat heavy cream with confectioners sugar just until soft peaks form. The optional gelatin stabilizer extends holding time and prevents weeping. Timing is crucial here. Overwhipping can create a grainy texture that ruins the smooth mouthfeel.
- Layer with Precision
- Cut the cooled cake horizontally into two even layers after trimming the top. Brush both cut surfaces with syrup to add moisture and flavor. Apply thin cream layers with careful attention to evenness. The strawberry placement between layers should be methodical for consistent distribution in each slice.
 Bookmark
My favorite part of this recipe is watching guests take their first bite. There's always that moment of surprise when they discover how the barely sweet cream complements the natural sweetness of strawberries without overwhelming them.
The Art of Japanese Cake Texture
Japanese cakes differ fundamentally from Western cakes in their texture philosophy. They prioritize lightness over richness, focusing on creating an airy, cloud-like mouthfeel. The technique of separating eggs and folding in whipped whites creates a unique structure that Western butter cakes simply cannot achieve. This recipe stays true to authentic Japanese techniques with its water bath baking method and precise handling of ingredients.
Perfect Seasonal Adaptations
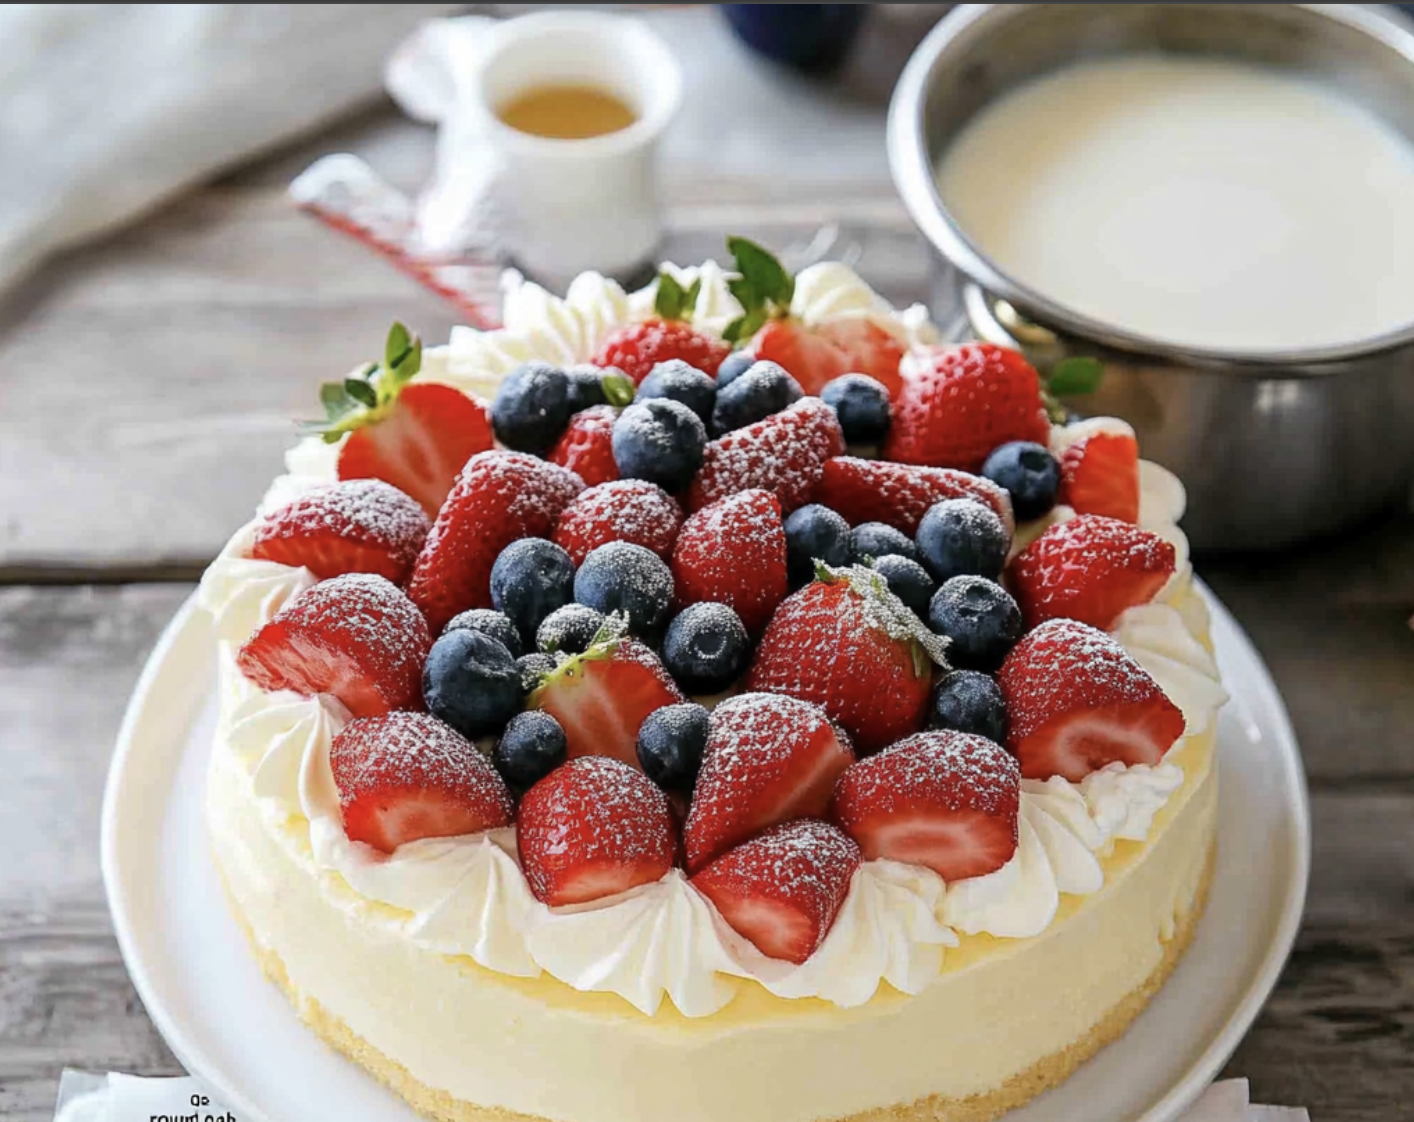
While strawberries create the classic version, this versatile cake welcomes seasonal variations. Summer peaches sliced thinly work beautifully, as do mixed berries in late spring. For autumn, try poached pears with a hint of cinnamon in the syrup. Winter versions can incorporate citrus segments for brightness. The neutral canvas of the sponge and cream adapts to whatever fruit is at its peak freshness.
Serving Suggestions
Serve this cake slightly chilled but not cold for the optimal texture experience. A small dusting of confectioners sugar just before presenting adds an elegant finishing touch. Pair with unsweetened green tea which cuts through the cream and complements the delicate cake beautifully. For special occasions, a small glass of sparkling wine creates a lovely contrast to the subtle sweetness.
Storage Success
Store any leftover cake in the refrigerator for up to two days, though the texture begins changing after the first day. The stabilized cream version holds up significantly better than the traditional version. For best results, place toothpicks around the cake before covering with plastic wrap to prevent the wrap from sticking to the cream. Allow the cake to sit at room temperature for 20 minutes before serving leftovers to restore the ideal texture.
Recipe FAQs
- → What makes Japanese Strawberry Cake different from other strawberry cakes?
Japanese Strawberry Cake features a much lighter, airier sponge cake than Western versions. It uses less sugar, incorporates a water bath baking method, and focuses on a delicate balance between the subtle sweetness of the cake, fresh strawberries, and lightly sweetened whipped cream.
- → Can I make this cake without gelatin for the whipped cream?
Yes, the gelatin is optional and only used to stabilize the cream for longer shelf life. Without gelatin, the cake should be served immediately or within a few hours of preparation for best results.
- → How long does Japanese Strawberry Cake stay fresh?
With stabilized cream (using gelatin), the cake can be refrigerated for up to 2 days. Without stabilized cream, it's best consumed within 24 hours. The cake should always be refrigerated due to the fresh cream and strawberries.
- → Why is a water bath used when baking the cake?
The water bath (bain-marie) provides gentle, even heat distribution and adds moisture to the oven environment. This helps create the signature light, moist texture of Japanese sponge cake without drying out the edges.
- → What's the purpose of macerating the strawberries with sugar?
Macerating strawberries with sugar draws out their natural juices, making them softer, glossier, and more flavorful. The reserved liquid can be added to the cake syrup for an extra boost of strawberry flavor throughout the cake.
- → Can I use cake flour substitute if I don't have cake flour?
Yes, you can make a cake flour substitute by replacing 2 tablespoons of all-purpose flour with cornstarch for every cup of flour. Sift them together several times to ensure they're well incorporated and aerated.