
 Bookmark
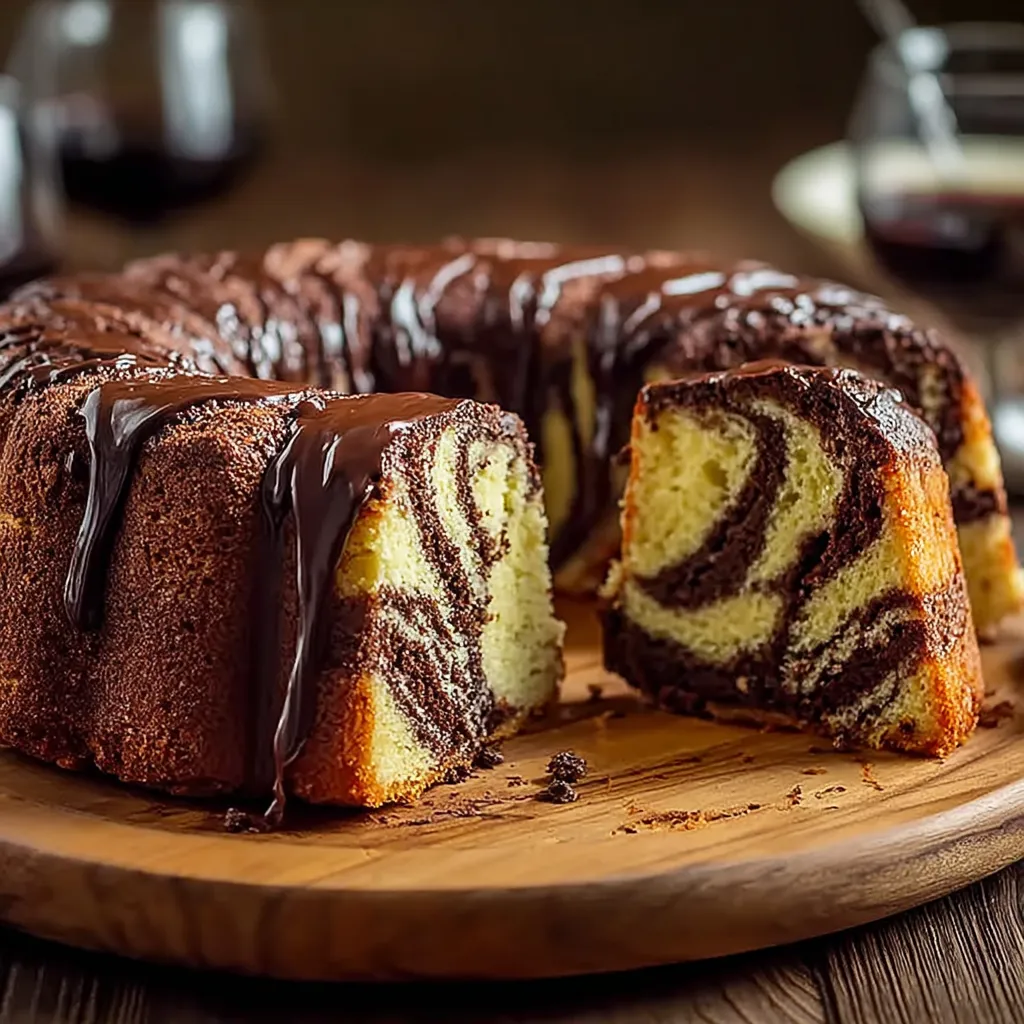
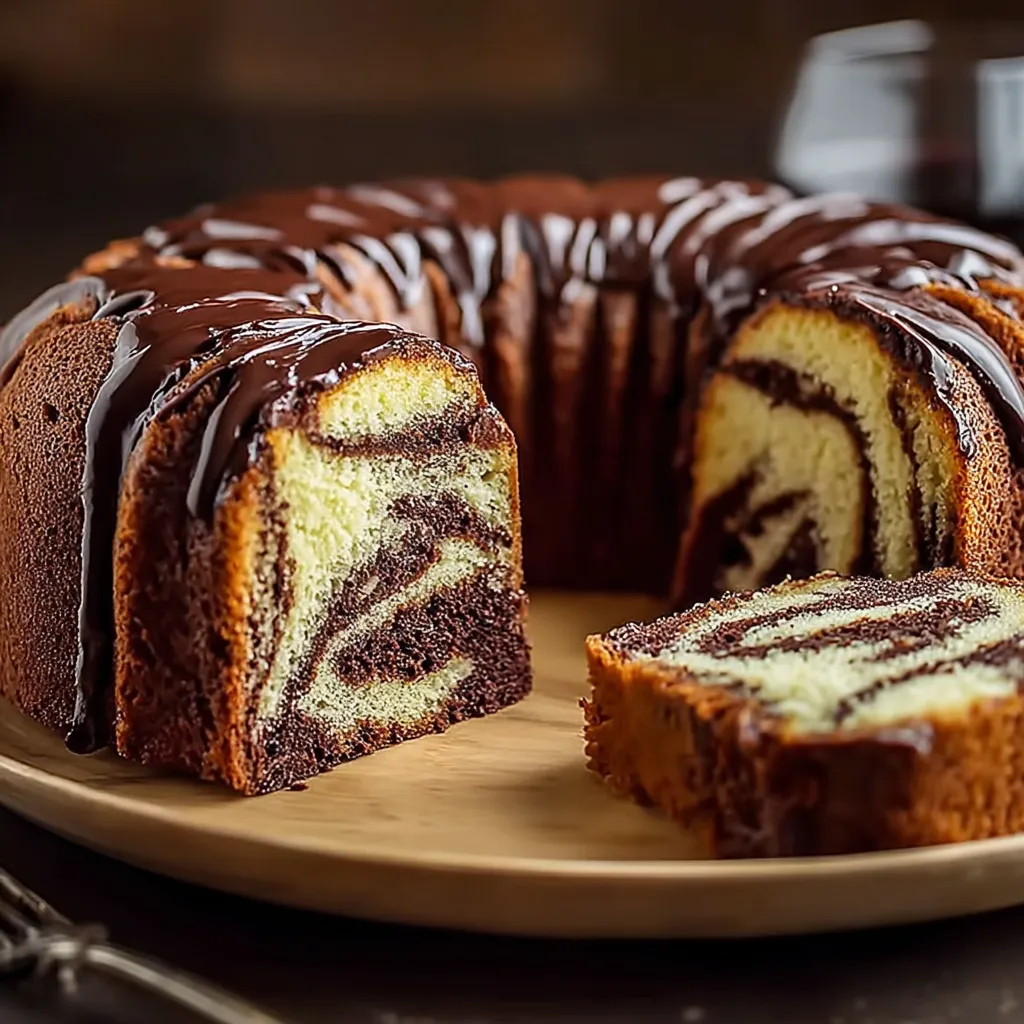
This classic marble cake combines rich chocolate swirls with tender vanilla cake for a dessert that's equally impressive at breakfast with coffee or as an elegant after-dinner treat. The beautiful marbling effect creates a unique slice every time, making this recipe both a visual and culinary delight.
I first made this marble cake for my daughter's birthday when she requested something "fancy but not too fancy." The marbled swirls impressed everyone at the party, and now it's our go-to recipe whenever we need a reliable crowd-pleaser.
Ingredients
- All purpose flour provides the perfect structure without becoming too dense
- Baking powder and baking soda work together to create the ideal rise
- Unsalted butter gives rich flavor while allowing you to control the salt content
- Granulated sugar balances sweetness while helping create a tender crumb
- Large eggs bind the ingredients and add moisture
- Vanilla extract enhances the flavor of both batters
- Milk creates a moist tender texture
- Cocoa powder delivers deep chocolate flavor in the marbled sections
- Hot water activates the cocoa powder for maximum chocolate impact
Step-by-Step Instructions
- Prepare Your Workspace
- Begin by preheating your oven to 350°F and properly preparing your pan. A well greased and lined pan ensures your cake releases perfectly after baking. Sift your dry ingredients together thoroughly to remove any lumps and incorporate the leavening agents evenly.
- Create The Base Batter
- In your mixing bowl, cream the butter and sugar until truly fluffy which takes about 3 to 4 minutes of mixing. This incorporates air into the batter resulting in a lighter cake. Add eggs one at a time, allowing each to fully incorporate before adding the next which prevents the batter from breaking. The vanilla goes in next to infuse the entire batter with flavor.
- Combine Wet And Dry Ingredients
- Alternate adding your dry ingredients and milk, beginning and ending with the dry mixture. This method prevents overmixing while ensuring everything incorporates properly. Use gentle folding motions rather than vigorous stirring to maintain the air you've incorporated during the creaming process.
- Create The Chocolate Mixture
- Divide your batter evenly between two bowls. For the chocolate portion, whisk the cocoa powder with hot water until it forms a smooth paste with no lumps. This blooms the cocoa, intensifying its flavor. Gently fold this chocolate mixture into one portion of the batter until fully incorporated but not overmixed.
- Achieve The Perfect Marble
- Layer alternating spoonfuls of vanilla and chocolate batter into your prepared pan. For the most artistic effect, create several layers rather than just two. Use a butter knife or skewer to gently swirl through the batters, being careful not to overmix. Just a few figure eight motions will create beautiful marbling without muddying the distinct colors.
 Bookmark
The hot water and cocoa mixture is truly the secret to the chocolate portion of this cake. The first time I made this for my husband's birthday, I skipped this step and simply added dry cocoa powder. The difference was remarkable. The hot water blooms the cocoa, creating a much more intense chocolate flavor that perfectly contrasts with the vanilla portions.
Storing Your Marble Cake
This marble cake maintains its moisture and flavor remarkably well when stored properly. Keep it at room temperature in an airtight container for up to 4 days. The flavor actually improves slightly after the first day as the vanilla and chocolate notes meld together. For longer storage, wrap individual slices tightly in plastic wrap and freeze for up to three months. Thaw slices at room temperature for about an hour before serving.
Variations To Try
While this classic marble cake is perfect as written, you can easily customize it to suit different occasions or flavor preferences. Add a teaspoon of espresso powder to the chocolate portion to enhance the chocolate flavor without adding coffee taste. For a citrus twist, incorporate orange or lemon zest into the vanilla batter. During the holidays, a touch of peppermint extract in the chocolate portion creates a festive flavor combination that pairs beautifully with the vanilla swirls.
Serving Suggestions
This versatile cake shines in multiple settings. For breakfast or brunch, serve thick slices alongside fresh berries and a dollop of yogurt. As a dessert, dress it up with a simple vanilla glaze or chocolate ganache drizzled over the top. For special occasions, dust with powdered sugar and serve with a scoop of vanilla ice cream or fresh whipped cream. The marble cake also makes wonderful trifles when cubed and layered with custard and fruit.
Recipe FAQs
- → What's the secret to getting a good marble effect?
For the perfect marble effect, pour alternating spoonfuls of vanilla and chocolate batters into your prepared pan, then use a knife to gently swirl them together. Don't overmix or you'll lose the distinct pattern - just 3-4 passes with the knife is usually sufficient.
- → Can I use a different pan than what's suggested?
Yes! While the recipe calls for a loaf or bundt pan, you can also use a 9-inch round cake pan or even cupcake tins. Just adjust the baking time accordingly - cupcakes will need only about 18-22 minutes, while a 9-inch round may need 35-40 minutes.
- → How do I know when my marble cake is done baking?
Insert a toothpick or cake tester into the center of the cake. If it comes out clean or with just a few crumbs (but no wet batter), your cake is done. The top should also spring back slightly when gently pressed.
- → Can I make this cake in advance?
Absolutely! This marble cake actually develops even better flavor after a day. Store it in an airtight container at room temperature for up to 3 days, or freeze it (well-wrapped) for up to 3 months.
- → What's the best way to serve marble cake?
This cake is delicious on its own, but you can also dust it with powdered sugar for a simple presentation. For special occasions, consider adding a chocolate ganache, vanilla glaze, or cream cheese frosting.
- → Why do you add hot water to the cocoa powder?
Hot water helps to bloom the cocoa powder, which means it activates and enhances the chocolate flavor while ensuring the cocoa dissolves completely. This prevents dry cocoa pockets in your finished cake and gives a richer chocolate taste.