
 Bookmark
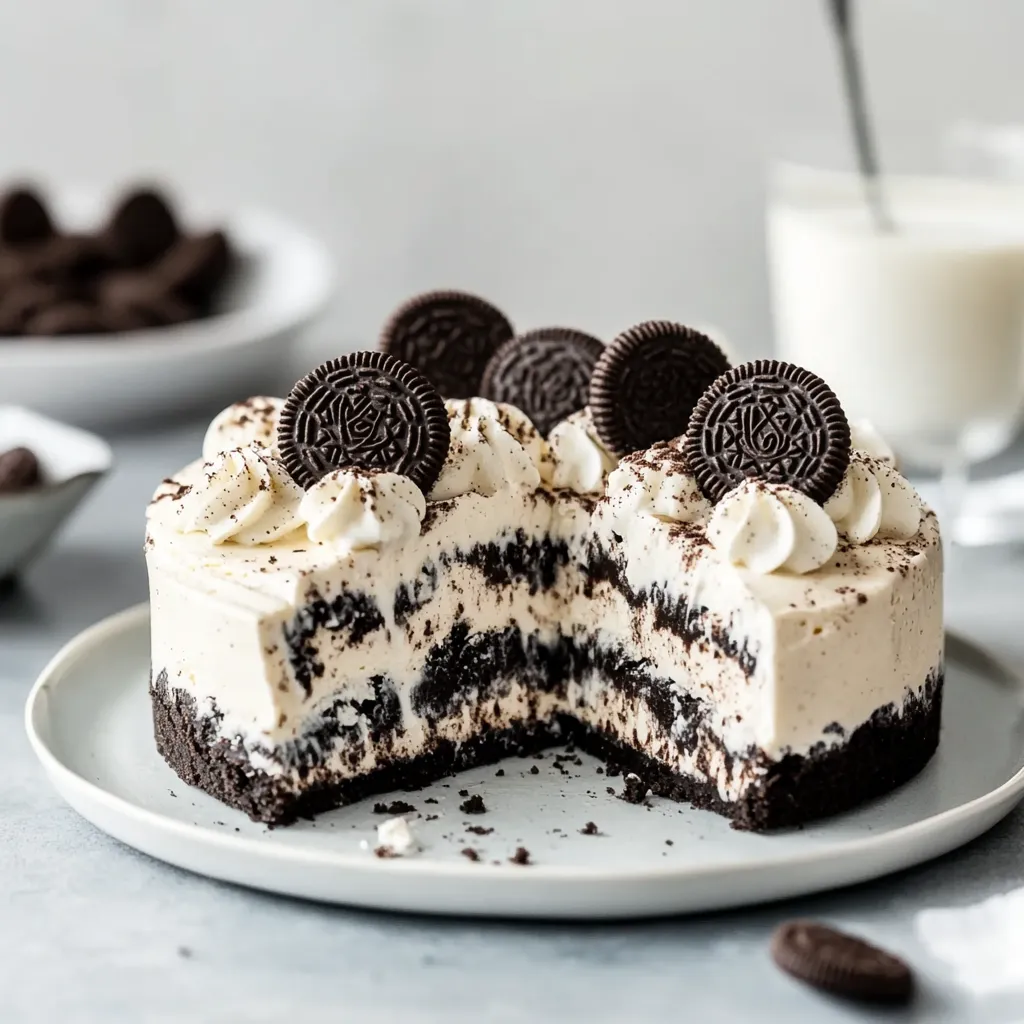
This Oreo ice cream cake delivers all the creamy indulgence of store-bought versions but with a homemade touch that makes it even more delicious. The perfect make-ahead dessert for birthdays, celebrations, or simply satisfying your cookies and cream cravings.
I first made this for my daughter's birthday when the bakery couldn't complete our order in time. The panic turned to triumph when guests kept asking for the recipe, thinking I'd spent hours creating it.
Ingredients
- Chocolate sandwich cookies provides both the crunchy base and the signature cookies and cream texture throughout ensure you use a quality brand for best flavor
- Unsalted butter binds the cookie crust together and adds richness choose European style for extra creaminess
- Vanilla ice cream creates the perfect neutral base layer look for one with real vanilla specks for superior flavor
- Cookies and cream ice cream adds extra cookie goodness select a premium brand with visible cookie chunks
- Heavy whipping cream makes the perfect pipeable topping must be very cold for proper whipping
- Powdered sugar sweetens the whipped cream without graininess sift it first to prevent lumps
- Pure vanilla extract enhances the whipped cream opt for real extract not imitation
Step-by-Step Instructions
- Prepare the Pan
- Line a 9 inch springform pan with parchment paper on the bottom and lightly grease the sides. This crucial step ensures your beautiful creation releases easily when serving time arrives. The parchment prevents the crust from sticking while the greased sides allow for a clean presentation.
- Create the Cookie Base
- Thoroughly crush 24 chocolate sandwich cookies until they resemble fine crumbs with no large pieces remaining. Mix with melted butter until the texture resembles wet sand. Press firmly and evenly into the pan creating a solid foundation. The pressing technique matters use the bottom of a measuring cup for a perfectly flat, compact base.
- First Ice Cream Layer
- Allow vanilla ice cream to soften just until workable about 15 minutes at room temperature. Gently fold in chopped cookie pieces distributing them evenly throughout. Spread this mixture over your frozen crust creating a smooth level surface. The folding technique preserves air in the ice cream keeping it light rather than dense.
- Optional Chocolate Swirl
- Drizzle chocolate syrup in a spiral pattern over the vanilla layer. Use a toothpick to create beautiful marbled effects by gently swirling without overmixing. This creates pockets of chocolate intensity that contrast beautifully with the vanilla when sliced.
- Second Ice Cream Layer
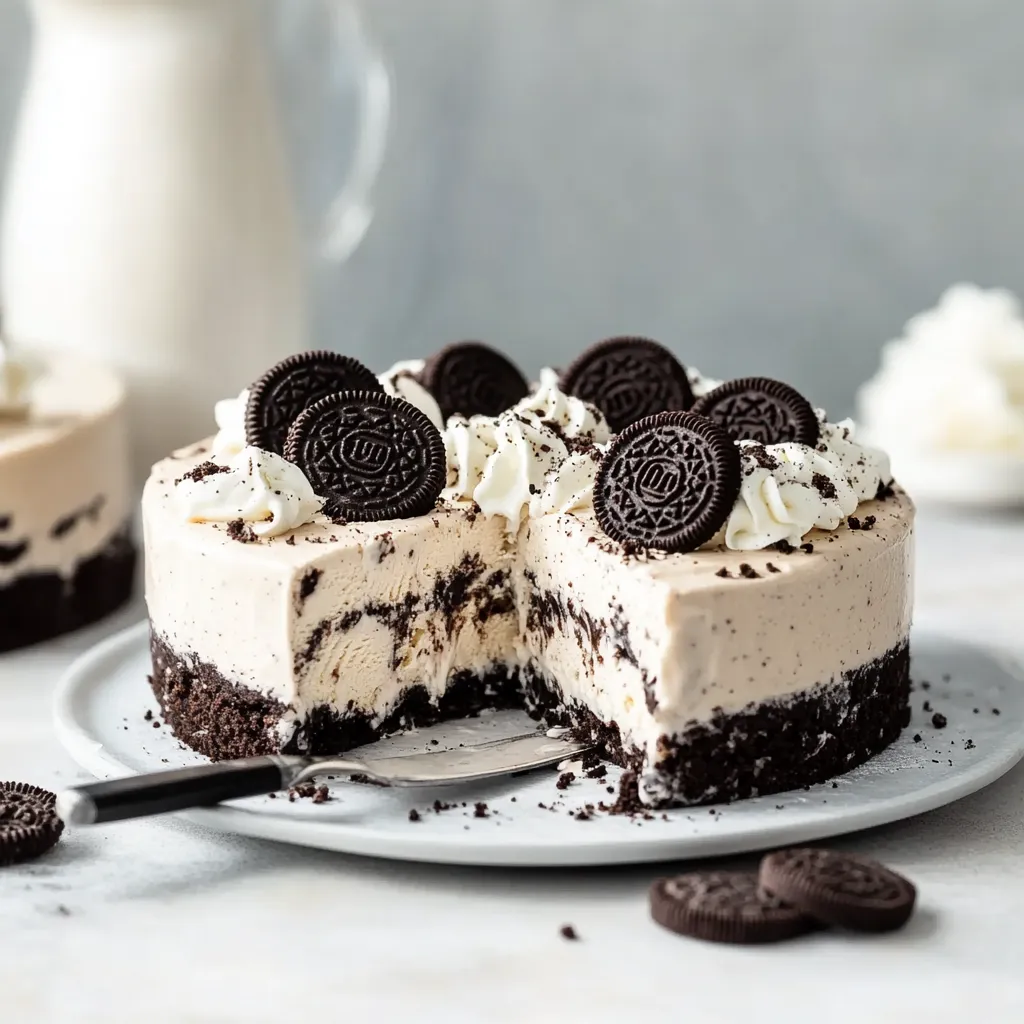
- Add the cookies and cream ice cream as your crowning layer after the first layer has set for 30 minutes. Carefully spread it to the edges ensuring a level top. This dual ice cream approach creates a gorgeous striped effect when sliced revealing distinct creamy layers.
- Whipped Cream Decoration
- Whip very cold heavy cream to soft peaks before adding powdered sugar and vanilla. Continue beating until stiff peaks form that hold their shape. Transfer to a piping bag with a star tip and create eight evenly spaced decorative swirls around the perimeter. The cold cream whips up with more volume creating a stable decoration.
- Final Garnishes
- Place cookie halves upright into each whipped cream swirl like edible decorations. Sprinkle the reserved cookie crumbs in the center and place one whole cookie directly in the middle as the centerpiece. These finishing touches transform a simple ice cream cake into a bakery worthy masterpiece.
 Bookmark
The chocolate sandwich cookies are truly the star ingredient here. I discovered that leaving some larger chunks in the vanilla layer creates these wonderful little treasure bites of cookie goodness that my family hunts for in every slice. My nephew once traded his entire piece just to get the one with the most cookie chunks.
Make It Your Own
This recipe welcomes creative adaptations based on your preferences. Try using mint chocolate chip ice cream instead of vanilla for a refreshing twist. During the holidays I add crushed candy canes between layers for a festive peppermint version that disappears quickly at family gatherings. For chocolate lovers substitute chocolate ice cream for even more indulgence.
Serving Suggestions
For the perfect slice allow the cake to stand at room temperature for exactly 5 minutes before cutting with a hot knife. This creates clean slices without the ice cream being too soft. Serve alongside fresh berries to balance the sweetness or add a drizzle of warm chocolate sauce for extra decadence. At summer gatherings I sometimes add a bowl of extra cookie pieces on the side for guests who want additional crunch.
Troubleshooting Tips
If your whipped cream begins to melt during decoration work quickly and return the cake to the freezer immediately between steps. Should your crust seem too crumbly add an additional tablespoon of melted butter. For a firmer texture that holds its shape longer when serving freeze the finished cake overnight rather than just 4 hours. This ensures perfect slices even on warm days.
Recipe FAQs
- → Can I use different flavors of ice cream in this cake?
Absolutely! While the classic combination uses vanilla and cookies & cream, you can substitute with chocolate, mint chocolate chip, or even coffee ice cream. Just ensure they're softened properly before layering to maintain the cake structure.
- → How far in advance can I make this cake?
You can prepare the cake up to 1 week ahead of time. Complete all steps through the final freezing, but add the whipped cream topping and garnishes within 24 hours of serving for the freshest presentation.
- → Can I use a different size pan?
Yes, this dessert works in various pan sizes. For a smaller 7-inch springform, reduce ingredients by about 25%. For a 10-inch pan, increase by 20%. Adjust freezing times slightly - smaller cakes require less time, larger ones need more.
- → How do I get clean slices when serving?
For picture-perfect slices, run a large, sharp knife under hot water, wipe it dry, then cut. Repeat between each slice. Allow the cake to sit at room temperature for 5-8 minutes before cutting to soften slightly.
- → Can I make this without a springform pan?
While a springform pan makes removal easiest, you can use a regular cake pan lined with plastic wrap that extends over the edges. After freezing, lift using the overhanging wrap. Alternatively, a pie dish works for a different shape, though serving will be more challenging.
- → What's the best way to store leftover cake?
Cut into individual slices and store in airtight containers in the freezer. This prevents repeated thawing of the entire cake. Properly stored, leftovers maintain quality for up to 1 week.