 Bookmark
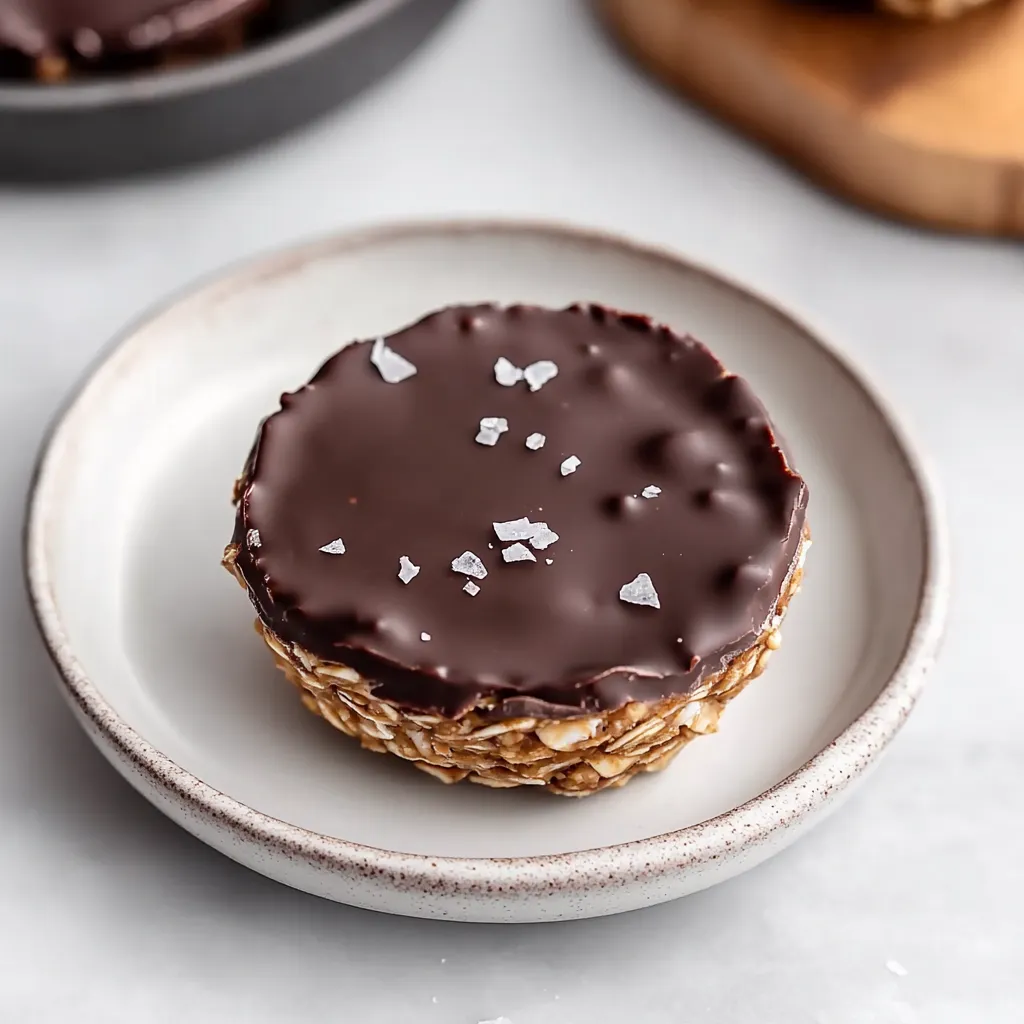
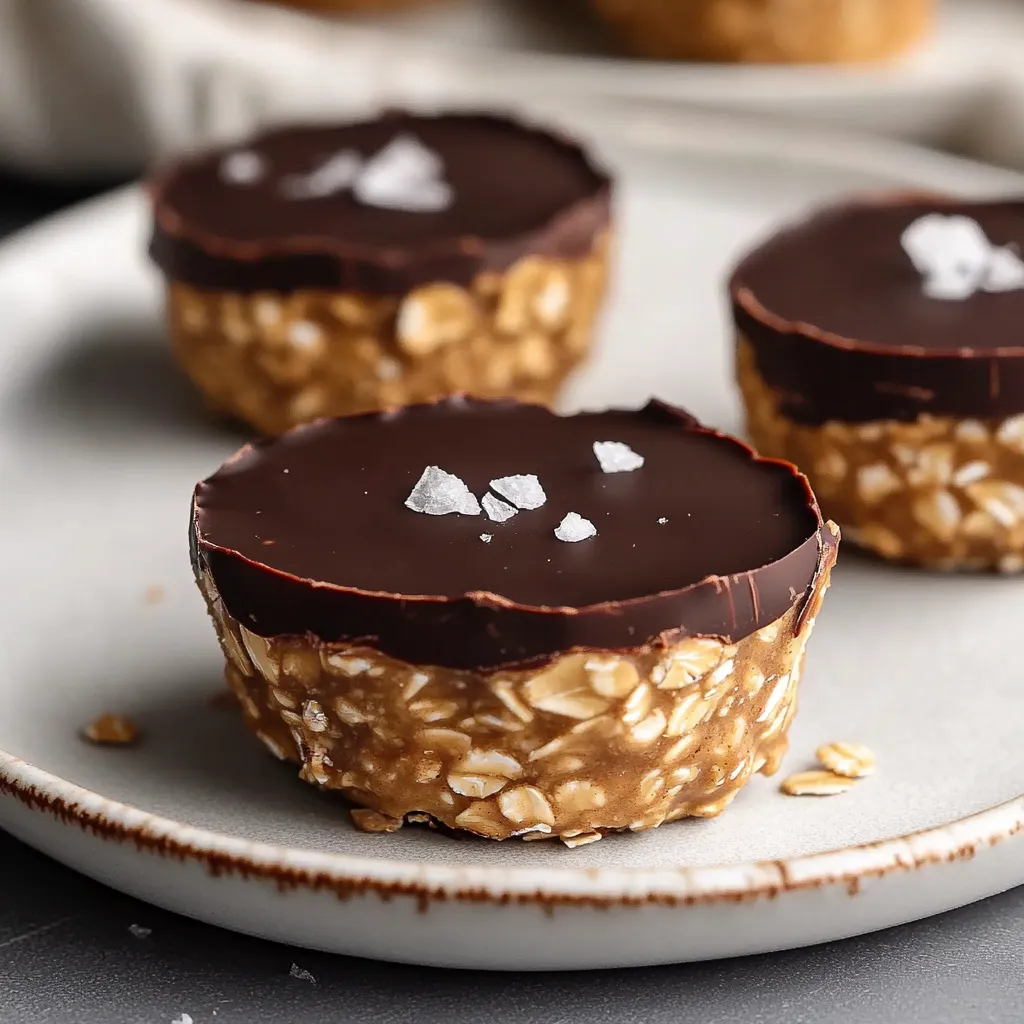
This simple peanut butter oat cup recipe has become my go-to solution for satisfying sweet cravings without turning on the oven. The combination of creamy peanut butter and hearty oats creates a perfect balance of indulgence and nutrition in each bite-sized treat.
I first created these peanut butter oat cups during a summer heatwave when the thought of turning on the oven seemed unbearable. My family devoured them so quickly that they've become a regular in our snack rotation regardless of the season.
Ingredients
- Peanut butter Choose natural peanut butter with minimal ingredients for the best flavor and healthiest option. The oils should be well-mixed for proper binding.
- Maple syrup Real maple syrup provides the perfect sweetness and helps the cups hold together. Its caramel notes complement the nuttiness beautifully.
- Rolled oats Old-fashioned rolled oats give the best texture. Quick oats work in a pinch but will create a denser cup. Avoid instant oats as they become too mushy.
- Dark chocolate chips Optional but highly recommended. Look for 70% cacao or higher for antioxidant benefits and a rich contrast to the sweet peanut butter base.
Step-by-Step Instructions
- Prepare the muffin tin
- Line a standard 12-cup muffin tin with paper liners. This prevents sticking and makes for easy removal and storage. If you prefer not to use liners, generously grease each cup with coconut oil.
- Warm the binding agents
- Add peanut butter and maple syrup to a medium saucepan over medium-low heat. Stir continuously for 3-4 minutes until the mixture becomes smooth and slightly bubbly around the edges. This melding of ingredients creates the perfect sticky base.
- Incorporate the oats
- Remove the pan from heat and add the rolled oats. Stir thoroughly for about 1 minute, ensuring every oat is coated with the peanut butter mixture. The mixture should be thick but workable.
- Form the cups
- Use a cookie scoop or tablespoon to divide the mixture evenly among the muffin cups. Press down firmly with the back of a spoon or your fingers slightly moistened with water to prevent sticking. Create a small indentation in the center if adding toppings.
- Add chocolate topping
- If using chocolate, place chocolate chips in a microwave-safe bowl and heat in 30-second intervals, stirring between each until completely melted. Drizzle over the cups using a spoon or transfer to a small plastic bag with the corner snipped off for more precise application.
- Chill until set
- Place the muffin tin in the refrigerator for at least 1-2 hours. The cups need this time to firm up properly. They should feel solid and hold their shape when touched.
 Bookmark
My absolute favorite ingredient in this recipe is the peanut butter. I discovered that using freshly ground peanut butter from our local market elevates these simple cups to something truly special. The natural oils create a creamier texture and more authentic flavor than shelf-stable varieties.
Storage Solutions
These peanut butter oat cups keep beautifully in the refrigerator for up to 2 weeks when stored in an airtight container. I like to separate layers with parchment paper to prevent sticking. For longer storage, they freeze exceptionally well for up to 3 months. I often make a double batch specifically to freeze, then thaw individual cups for about 20 minutes at room temperature when cravings strike.
Customization Ideas
The basic recipe is wonderfully adaptable to whatever flavors you prefer. Try mixing in dried cranberries or cherries for tartness, add a teaspoon of cinnamon for warmth, or incorporate chopped nuts for extra crunch. I sometimes replace 2 tablespoons of oats with ground flaxseed for additional omega-3s. For a more indulgent version, mix mini chocolate chips directly into the oat mixture before forming the cups.
Serving Suggestions
While perfect on their own, these cups can transform into an elegant dessert when slightly warmed and served with a scoop of vanilla ice cream or yogurt. For breakfast, crumble a cup over Greek yogurt with fresh berries. They also pair beautifully with afternoon coffee or tea as a balanced pick-me-up that won't lead to a sugar crash later.
Nutritional Benefits
These peanut butter oat cups offer more than just delicious flavor. The oats provide fiber and complex carbohydrates for sustained energy, while peanut butter delivers protein and healthy fats. Using maple syrup instead of refined sugar gives you minerals like manganese and zinc. The optional dark chocolate adds antioxidants and magnesium. Each cup delivers a satisfying balance of macronutrients that can help stabilize blood sugar levels compared to conventional treats.
Recipe FAQs
- → Can I use honey instead of maple syrup?
Yes, you can substitute an equal amount of honey for the maple syrup. The flavor will be slightly different, but the consistency will remain similar. If you prefer a less sweet version, you can also reduce the amount to 1/3 cup.
- → How long do these peanut butter oat cups last?
When stored in an airtight container in the refrigerator, these peanut butter oat cups will last for up to 7 days. You can also freeze them for up to 3 months - just thaw in the refrigerator before enjoying.
- → Can I use quick oats instead of rolled oats?
Yes, quick oats can be substituted for rolled oats in this no-bake treat. The texture will be slightly smoother and less chewy. Steel-cut oats are not recommended as they would remain too firm and crunchy.
- → Are these peanut butter oat cups gluten-free?
These can be gluten-free if you use certified gluten-free rolled oats. Regular oats may have cross-contamination with wheat products, so be sure to check packaging if making them for someone with celiac disease or gluten sensitivity.
- → What can I add to these cups for extra flavor?
Beyond the chocolate topping, you can customize these cups with many additions. Try mixing in 1/4 cup shredded coconut, a teaspoon of vanilla extract, a pinch of sea salt, chopped dried fruit, or mini chocolate chips into the oat mixture for variety.
- → Can I use crunchy peanut butter?
Absolutely! Crunchy peanut butter works perfectly and adds a nice textural contrast to the oats. You can also experiment with other nut butters like almond or cashew butter for different flavor profiles.
