
 Bookmark
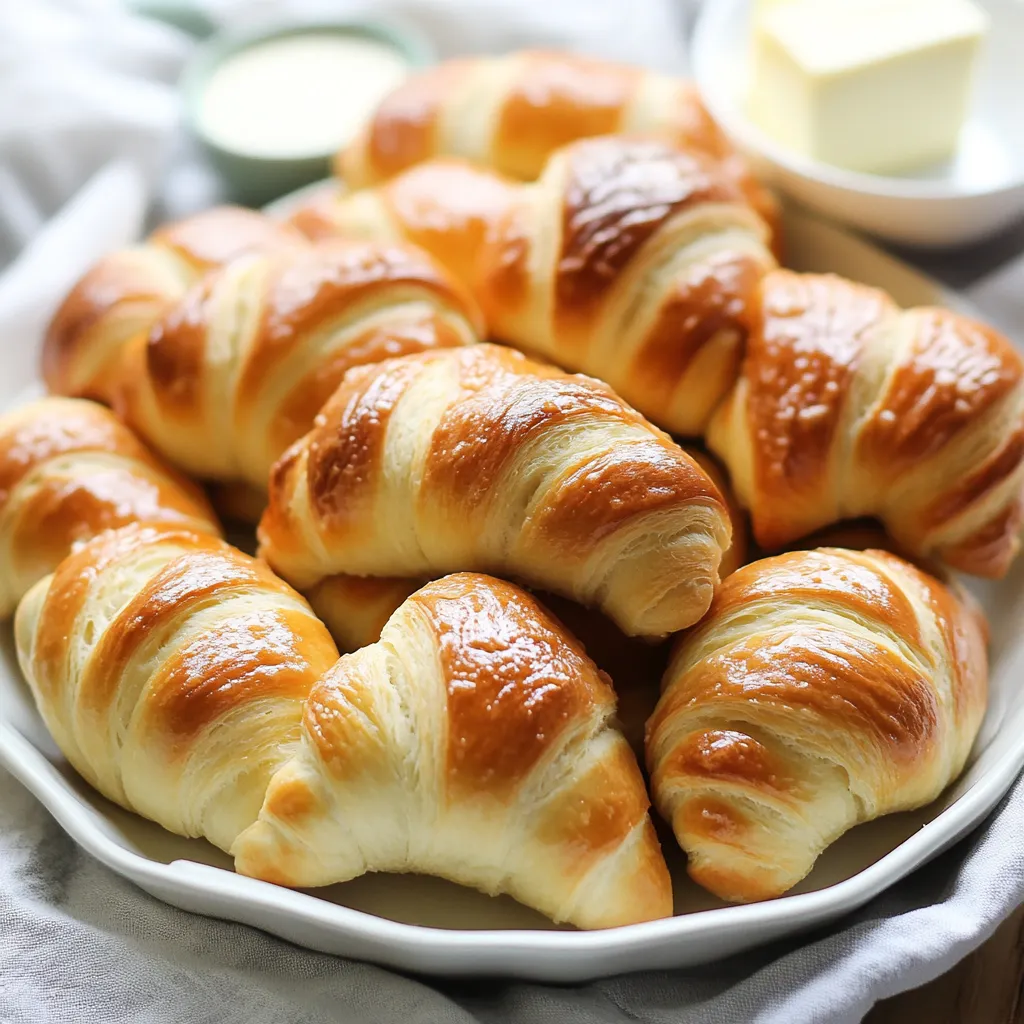
This homemade soft crescent roll recipe creates pillowy, buttery rolls that rival any bakery version. The delicate layers and golden exterior make these an irresistible addition to any meal, while the soft interior practically melts in your mouth with each bite.
I first made these crescent rolls for a holiday dinner when I wanted something special but approachable. My family was so impressed they now request them for every gathering, and guests always ask for the recipe.
Ingredients
- Warm water provides the perfect environment to activate the yeast
- Quick rise yeast speeds up the process significantly compared to active dry
- Unsalted butter adds richness without making the rolls too salty
- Granulated sugar feeds the yeast and adds subtle sweetness
- Eggs create structure and richness in the dough
- Warm milk makes the crumb incredibly tender
- Salt enhances all flavors and controls yeast growth
- All purpose flour works perfectly look for unbleached for best flavor
- Melted butter for brushing gives that irresistible golden finish
Step-by-Step Instructions
- Activate the Yeast:
- Dissolve the yeast in warm water until it becomes frothy, which ensures your yeast is alive and will provide proper rise. This should take about 5 minutes, and the mixture should smell pleasantly yeasty.
- Create the Base:
- Cream butter and sugar in your stand mixer until light and fluffy, about 2 minutes. Adding eggs at this stage incorporates them fully without overworking the dough later. The milk, salt, and yeast mixture add moisture and flavor to your base.
- Form the Dough:
- Add flour gradually to prevent flour clouds and ensure even incorporation. Switching to the dough hook allows proper gluten development without overworking. The dough should feel tacky but not sticky enough to coat your fingers completely.
- First Rise:
- Placing the dough in a greased bowl prevents sticking during rising. Cover with plastic wrap to maintain moisture. The dough needs a warm environment around 75-80°F to double in size properly.
- Shape the Rolls:
- Dividing the dough creates manageable portions. Roll each half into a 14-inch circle of even thickness, about 1/4 inch. Cut precise wedges using a pizza cutter for uniform rolls that will bake evenly.
- Roll and Place:
- Rolling from the wide end creates the classic crescent shape with multiple layers. Placing them tip-side down prevents unraveling during baking. Leave about 2 inches between rolls to allow for expansion.
- Second Rise:
- This rise develops flavor and creates the light, airy texture. The rolls should nearly double again, looking puffy and soft before baking.
- Bake to Perfection:
- Baking at 350°F provides the perfect environment for even cooking without burning. The internal temperature ensures they're fully baked without guesswork.
- Butter Finish:
- Brushing with melted butter while hot adds shine, flavor, and prevents the crust from becoming too firm as they cool.
 Bookmark
The combination of butter and milk in this recipe creates that distinctive soft texture that makes these rolls so special. My grandmother taught me this recipe, emphasizing that patience during the rising stages makes all the difference in the final product.
Storage Solutions
These crescent rolls stay fresh at room temperature in an airtight container for up to 3 days. For longer storage, place completely cooled rolls in freezer bags, removing as much air as possible. To reheat, wrap rolls in foil and warm in a 300°F oven for about 10 minutes, or microwave individual rolls for 15-20 seconds.
Ingredient Substitutions
If you prefer a healthier version, you can substitute up to half of the all-purpose flour with whole wheat flour, though the rolls will be slightly denser. Dairy-free alternatives work surprisingly well—use plant-based butter and milk in equal amounts. For those avoiding eggs, replace each egg with 1/4 cup unsweetened applesauce for similar moisture and binding properties.
Serving Suggestions
These versatile rolls complement nearly any meal. Serve them warm alongside soups and stews, or split them for miniature sandwiches. For breakfast, try them with jam or honey butter. For an elevated appetizer, wrap the dough around brie chunks before baking and serve with fruit preserves.
Historical Context
Crescent-shaped breads have roots in Austrian kipferl pastries, which inspired the French croissant. This American version simplifies the traditional lamination process while maintaining the beloved shape. While authentic croissants require folding butter between layers of dough, these rolls incorporate butter directly into the dough, making them more approachable for home bakers while still delivering that distinctive shape and satisfying texture.
Recipe FAQs
- → Can I make the dough ahead of time?
Yes! You can prepare the dough and refrigerate it overnight after the first rise. Punch it down, cover tightly, and refrigerate. The next day, let the dough come to room temperature for about 30 minutes before shaping into crescents.
- → How do I know when the rolls are fully baked?
The rolls should be golden brown on top and bottom, and the internal temperature should reach 190-200°F when measured with an instant-read thermometer. If they're browning too quickly but not fully baked, cover loosely with foil.
- → Can I freeze these crescent rolls?
Absolutely! You can freeze them either before or after baking. To freeze unbaked rolls, shape them, place on a baking sheet, freeze until solid, then transfer to a freezer bag. To freeze baked rolls, cool completely, place in freezer bags, and freeze for up to 3 months. Thaw and reheat before serving.
- → What if I don't have a stand mixer?
You can mix the dough by hand. Use a large bowl and wooden spoon to combine ingredients, then knead by hand on a floured surface for 8-10 minutes until smooth and elastic.
- → What makes these crescents so soft?
The combination of butter, milk, and eggs creates a rich, tender dough. The proper kneading technique and double rise also contribute to their pillowy texture. Brushing with melted butter after baking adds moisture and flavor.
- → Can I add fillings to these crescents?
Yes! Before rolling the wedges, you can add fillings like chocolate, jam, cheese, or ham. Just place a small amount at the wide end of each wedge before rolling into crescents. Avoid overfilling to prevent leakage during baking.